the best 17hats resources all in one place!
VIEW SERVICES
See how I can help you take your business to the next level.
systems & strategy
type below and hit enter
Search the blog
lIFEstyle
sMALL bUSINESS
17hats
Browse by topic
I'm Deb, and I'm excited to share, learn and grow together.
Read more about me
I'm so glad you're here
Series: How to Set Up a 17hats Lead Capture Form

Mastering Client Leads with 17hats: 3 Part Series
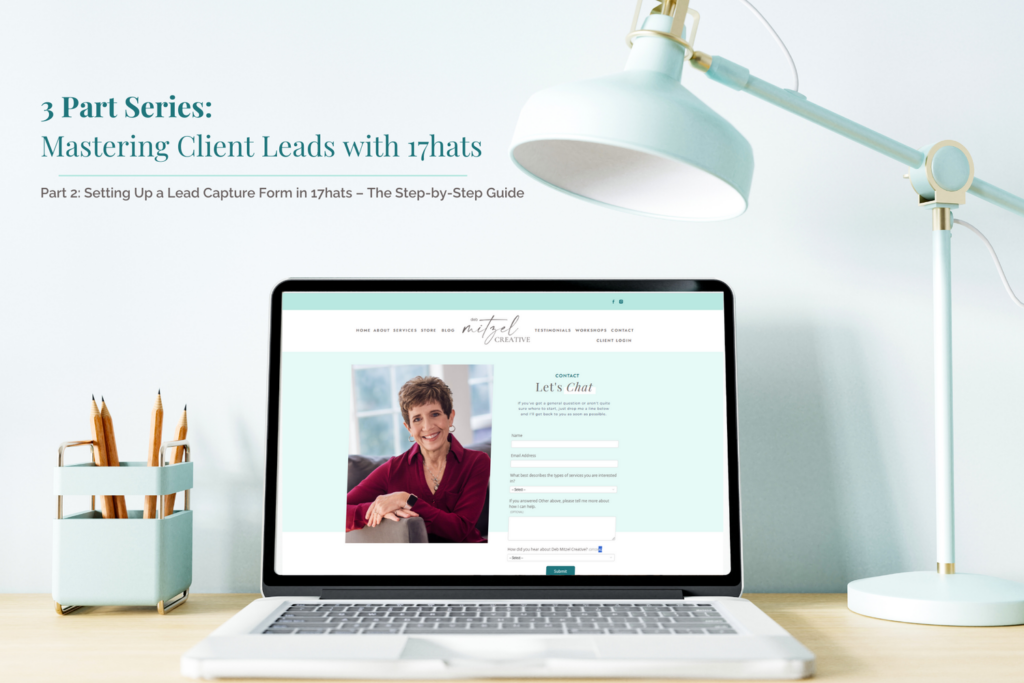
Part 2: Setting Up a 17hats Lead Capture Form – The Step-by-Step Guide
Welcome back to Part 2 of my three-part series on mastering lead capture and client conversions with 17hats! In Part 1, we talked about what to include in your lead capture form to ensure you’re getting all the right information and engaging your potential clients. Now, it’s time to get a little more technical. In this post, I’ll be showing you the exact steps to set up your 17hats lead capture form, so you can start collecting inquiries automatically and turning them into paying clients.
If you haven’t read Part 1 yet, I highly recommend checking it out first so you have a solid foundation before diving into the technical side. Click here to read Part 1: The Essentials of Building an Effective Lead Capture Form And don’t forget, Part 3 will be focused on setting up a lead capture email for inquiries received via The Knot, WeddingWire, and Showit. Let’s get started!
Setting Up Your Lead Capture Form in 17hats
There are many nuances and ways to customize your particular lead capture form and process, but don’t let this intimidate you! The basics are simple, and I’ll walk you through everything. Below are the minimum recommended steps to create a lead capture form in 17hats and send an automatic email to incoming leads.
Step-by-Step Instructions:
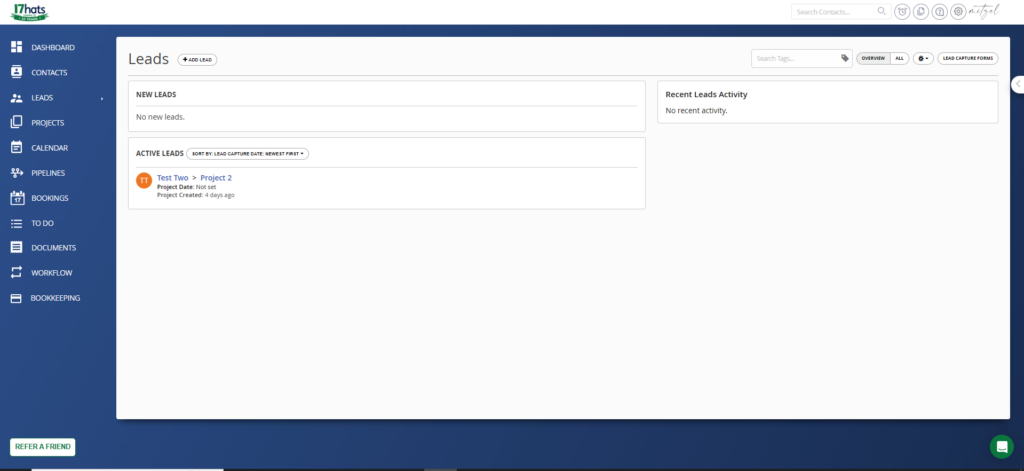
- Go to the Leads section in 17hats.
- Click on “Lead Capture Forms” in the top right corner.
- Select “Add Method” and choose “Lead Capture Form.”
- Fill in the essential fields: Title, Project Name, Notification, and Auto-Response.
- Add questions to the form to gather the most relevant information from your leads.
- Customize your form’s appearance to align with your brand.
- Save and embed your form on your website or share it via social media.
Below is a complete layout of the process, including more detailed information about each field in the form, as well as a brief explanation of how it might be used. If you’re just getting started, keep it simple! You can always add more advanced features like workflows and contact tags down the road. Remember, “Done is better than perfect!“

To Set Up a Lead Capture Form:
- Go to the Leads section in 17hats.
- Click on Lead Capture Forms Button in the top right corner.
- Select Add Method and choose Lead Capture Form.
- Enter the following information into the form. You’ll have the option of entering additional information, but the items below are my minimum recommendations:
- Title – This is the name you will give this lead capture form, e.g. Website Contact Form.
- Project Name – Enter what you want the name of your project to be for this client in 17hats, e.g. Wedding Photography.
- Notification – If you want to be notified when an incoming lead comes in, choose email. If you don’t want to be notified, select None.
- Auto-Response – If you want to automatically send an email as soon as the lead submits the form, you can create it here by choosing “New Email Template”, or select one you’ve already written from your Documents & Emails section by using the dropdown menu.
- Calendar – If you want this lead to show up on your calendar, you can select the specific calendar you want to see it on. For simplicity, you can leave it on the default calendar.
- Workflow – If you want to start a workflow as soon as the lead submits the form, you can select the proper workflow here by using the dropdown menu.
- After Submitting – You have the option of displaying a message, e.g. “Thank you for your interest! Please check your inbox for additional information.”, sending them to an URL, e.g. a page on your website, or doing nothing.
- Message – This option is only present if you choose to Display a Message in the previous step.
- Contact Tags – this is more advanced topic that won’t be addressed in this article, but if you want to tag this lead with a contact tag, you can enter it here.
- Project Tags – similar to contact tags, project tags won’t be addressed here, but if you want to tag this project, you can enter that tag here.
- Transparency – If you are planning to embed this lead capture form on your website or some other online resource, you will want to toggle the transparency button ON.
- Form Colors – This is where you can enter your brand colors to keep your lead capture form on brand with the rest of your business.
- Lead Capture Form Header Image – If you want to place a header on your lead capture form, you can upload it here.
- Hit Save.
- Enter the following information into the form. You’ll have the option of entering additional information, but the items below are my minimum recommendations:
- In the Lead Form Questions section, the following questions are auto populated because they represent the minimum information required to communicate in 17hats.
- Name
- Email Address
- Add Questions – you can add questions to gather information that will help you respond most effectively to the inquiry. Below is an explanation of the available question types, along with potential use cases.
- Short Answer – use this if you want to collect a short piece of information, e.g. School they attend or graduation year.
- Long Answer – use this if you want to collect information that will take more space, e.g. how an engaged couple met.
- Yes/No – use this for a question that only requires a yes or no answer, e.g. are you also looking for engagement photos?
- Heading – use this to visually make your form more appealing.
- Lead Source – this will pre-populate the lead sources you have set up in the leads module, if applicable.
- Choose from a list – the most common use for this is if you offer more than one type of service and you want to customize your response for each, e.g. What type of photography are you interested in? The choices could be wedding photography, senior photography, family photography, etc. The Start Workflow option allows you to attach a specific workflow to each answer, enabling you to provide very customized responses to your inquiries, based on their selections.
- Checkboxes – use this if you want to give the lead a multiple choice response option, with the ability to choose more than one option, e.g. What types of wedding services are you interested in? Engagement Photos, Wedding, Reception, Videography
- Date – use this for any questions with a date as the answer, e.g. What is your wedding date?
- Text – use this to add information or instructions to your form.
To Get the Form Link or Embed it On Your Website:
- Go to the Leads section in 17hats.
- Click on Lead Capture Forms you want to embed or get the link for.
- Click on Install Form button. You will choose one of the following 4 options and follow the instructions:
- Link to 17hats form – click here to get the URL for this particular lead capture form. You can share it anywhere to direct people to complete your form.
- Link to Dialog Window – click here to get the HTML coding to add the form as a pop up on your website. You will need to consult your website provider’s instructions for embedding the form on your website.
- Insert Form on Website – click here to get the iframe coding you can paste into your website’s source code. Again, you will need to consult your website provider’s instructions to do this.
- Facebook – click here and follow the instructions to install your Lead Capture Form on your Facebook business page. Because Facebook is always changing things up, I would recommend contacting 17hats support for assistance if have questions.
As mentioned, there are many nuances and ways to customize your particular lead capture form, from attaching workflows for different revenue streams, using custom fields to gather data, and using tags, but those are more advanced topics that won’t be addressed here in detail. I am a huge proponent of using those advanced features in your workflows, but if you’re just getting started, keeping it simple is best. If you are ready to take advantage of those features, but don’t have the time or knowledge to do it yourself, don’t hesitate to reach out. I’m happy to help or point you in the right direction!
Conclusion: Make the Most of Every Inquiry
I hope you can see that Lead capture forms are more than just tools for gathering contact details—they’re the beginning of your client relationship. By creating a form in 17hats, automating timely responses, and strategically using CTAs, you ensure that you never miss an opportunity to turn a lead into a long-term client. Don’t be afraid to jump in and set this process up for your business – it’s one of the best things you’ll ever do!
With the completion of Parts One and Two of this series, you now have the knowledge and technical information needed to set up a lead capture form in 17hats. In Part 3 of this series, I’ll show you how to set up a lead capture email specifically for inquiries through platforms like The Knot, WeddingWire, and Showit. Stay tuned and get ready to take your lead capture to the next level!
If you’re ready to get started with your first 17hats lead capture form, the information above will set you on the right path, but if you need some guidance or would like help with the more advanced topics I referenced, 17hats offers amazing help and support, but I’m also here to guide you every step of the way, if needed. I offer a free Discovery Call that you can schedule here: Schedule Free Discovery Call with Deb

If you want to see what 17hats is all about, click the image to link to a FREE 7 Day Trial, or if you’re ready to purchase, follow the link for 50% off your first year or use the code debmitzel at checkout!
17hats Referral Link
Disclaimer: Some of the links are affiliate links, which means that if you choose to make a purchase, I will earn a commission. This commission comes at no additional cost to you. Please understand that I have experience with all of these companies, and I recommend them because they are helpful and useful, not because of the small commissions I make if you decide to buy something. Please do not spend any money on these products unless you feel you need them or that they will help you achieve your goals.
I'm Deb, and I'm excited to share, learn and grow together!
Read more about me
I'm so glad you're here
Hello!
Education Information
Workshop Information
book a call with me
Helping Creative Entrepreneurs simplify their systems with expert 17hats setup, strategic consulting, and actionable resources is my jam... Read my full story
Simplifying Business for Creative Entrepreneurs
17hats | busniess systems & strategy
| disclaimers
| Terms & conditions
privacy policy
© 2025 deb mitzel creative. all rights reserved. |
| terms of purchase
[…] to go. If you missed Part 2 of this series on setting up a lead capture form in 17hats, you can read that post here. But what about those leads coming from third-party platforms like The Knot, WeddingWire, and […]
[…] is one of the best ways to give your potential clients the specific information they want. In Part 2 of my Mastering Leads series, I mentioned attaching workflows to your lead capture form using the “Choose from a […]
This was such a helpful read! I’ve been hesitant to start using lead capture forms because I wasn’t sure how to set them up, but your instructions made it so straightforward. I had no idea 17hats had so many customization options. I’m excited to use this to streamline my client inquiries and save time. Thanks again for such a practical post!
I’m so glad it was helpful! I also offer free monthly zoom calls, where we talk about 17hats features and I answer questions. Would love to have you join me there, too. You can sign up at workshops page on my website.
Your tutorial made setting up my lead capture form in 17hats a breeze! I was able to follow along without any issues, and I’m thrilled with how professional the form looks. This article is an invaluable resource for small business owners who want to optimize their client onboarding process. Thank you for sharing such clear guidance!
I appreciate your feedback! I’m so glad you found it helpful.